Electric Boxcab

NOTE:Click on picture to enlarge. Click back button on your browser to return to this page. |

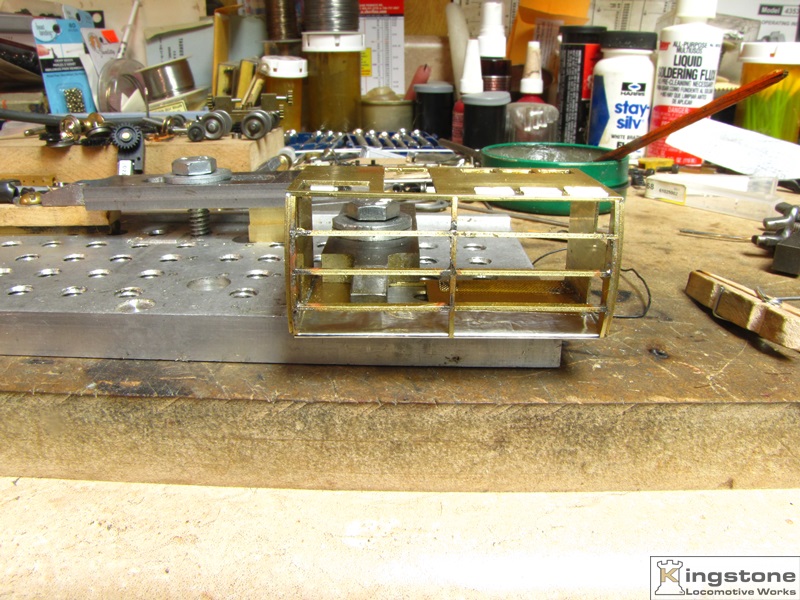 |
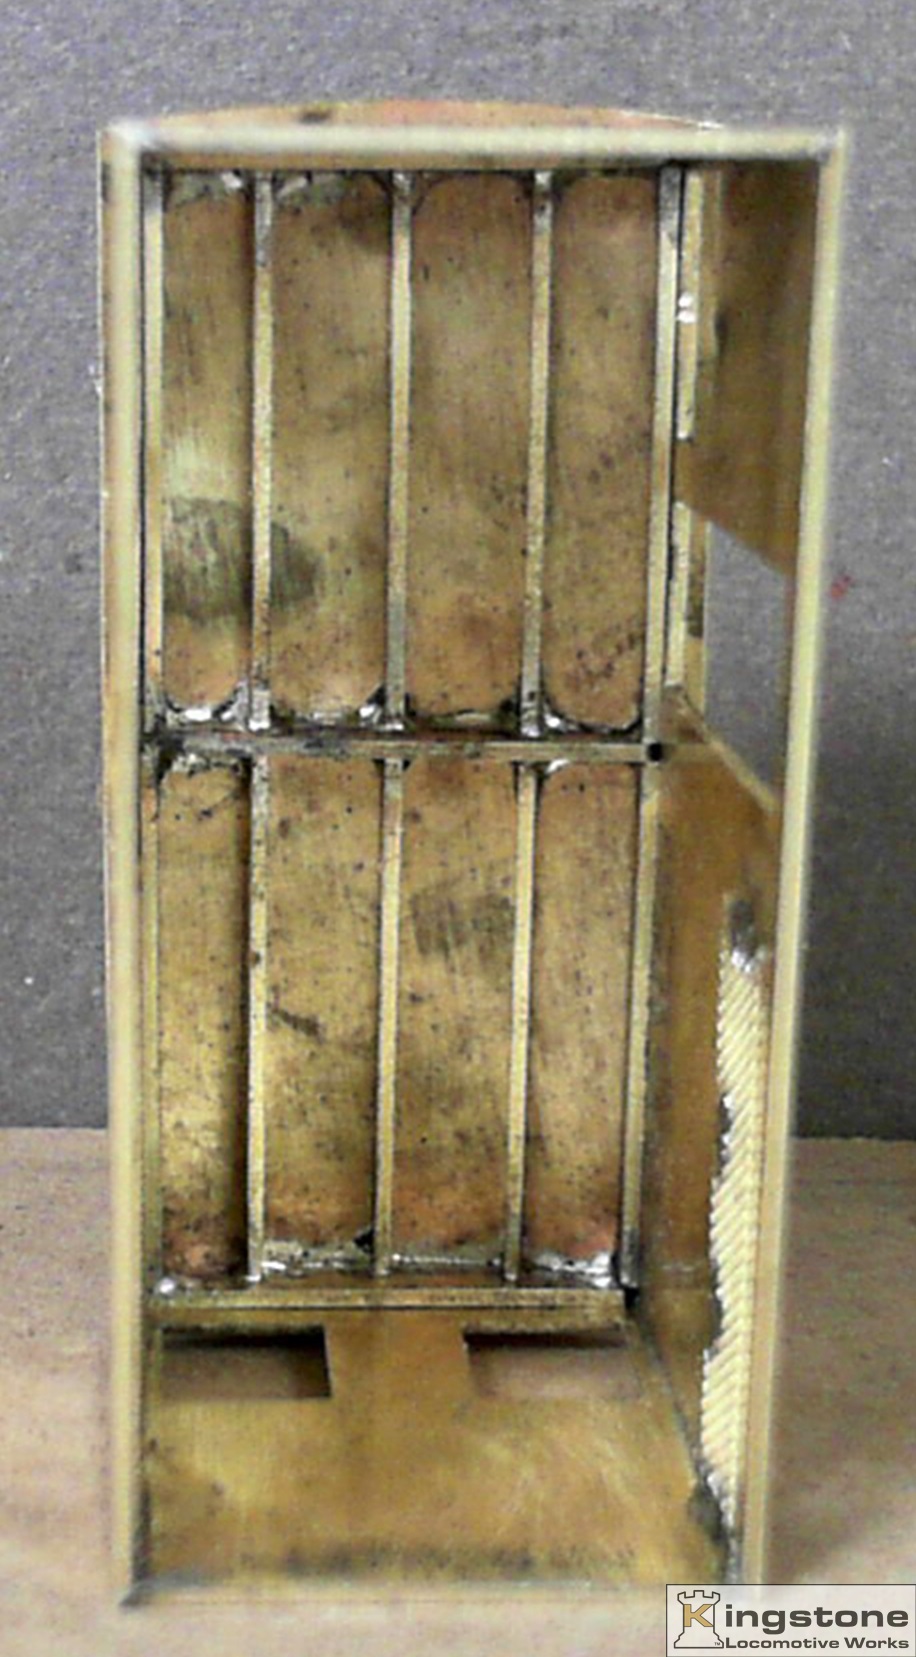
The side clamped into my soldering fixture table with foil and sub-roof.
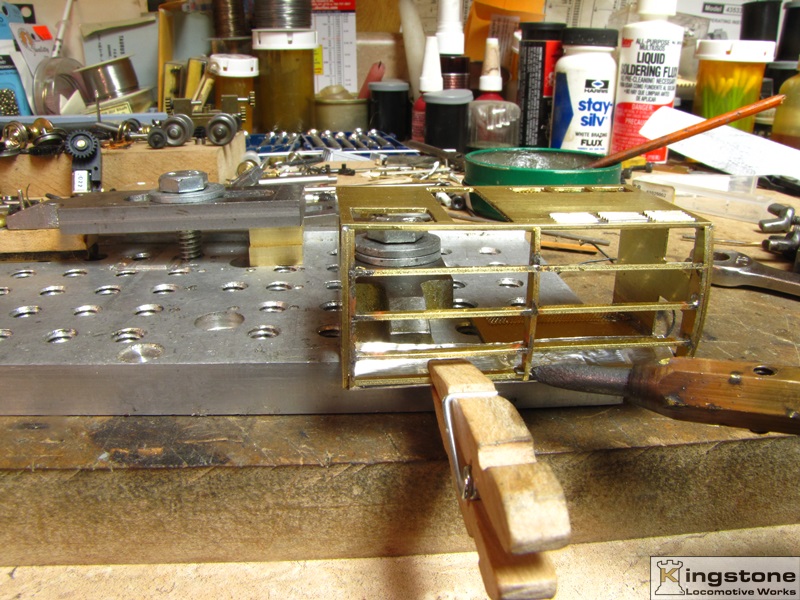 |
Section held by a clothes pin. A tiny bit of solder flux and solder in the corner
and the tip of the resistance soldering rig ready to heat just that section.
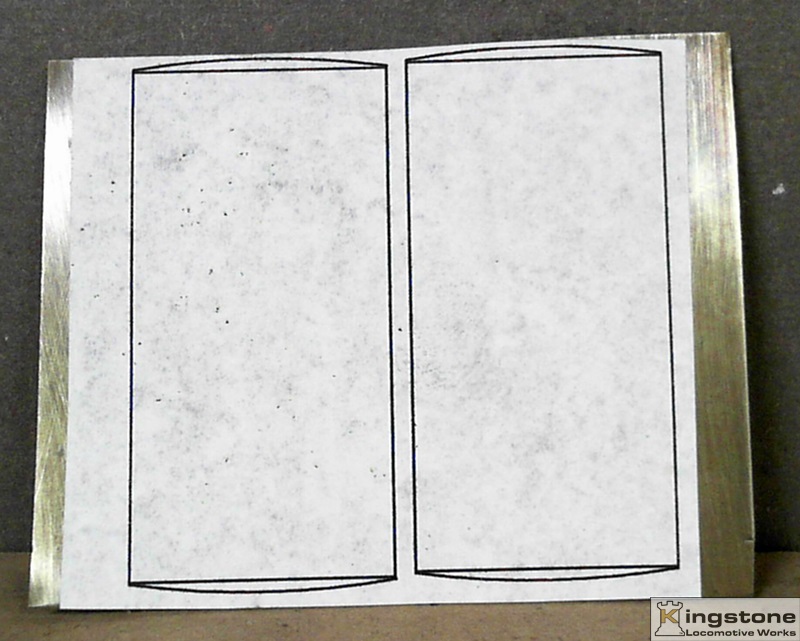 |
Next I annealed a piece of .020" brass sheet. Drew up the roof panel in CAD. Printed it out and
glued it with adhesive spray to the brass sheet.
Ready to be cut out with a pair of sharp scissors.
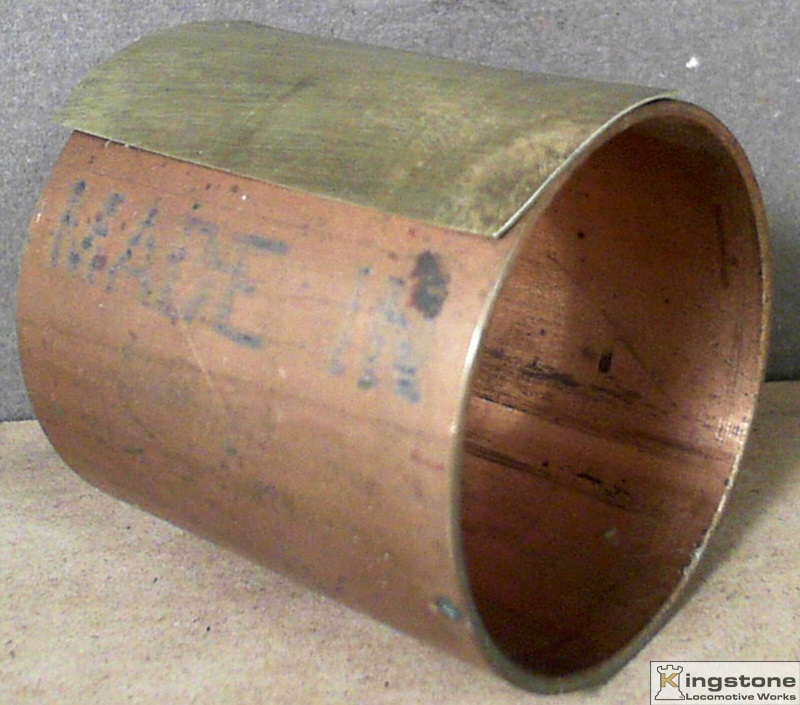 |
After cutting it out the piece needs to be curved to the
approximate curvature. A piece of 3" tubing for the initial start.
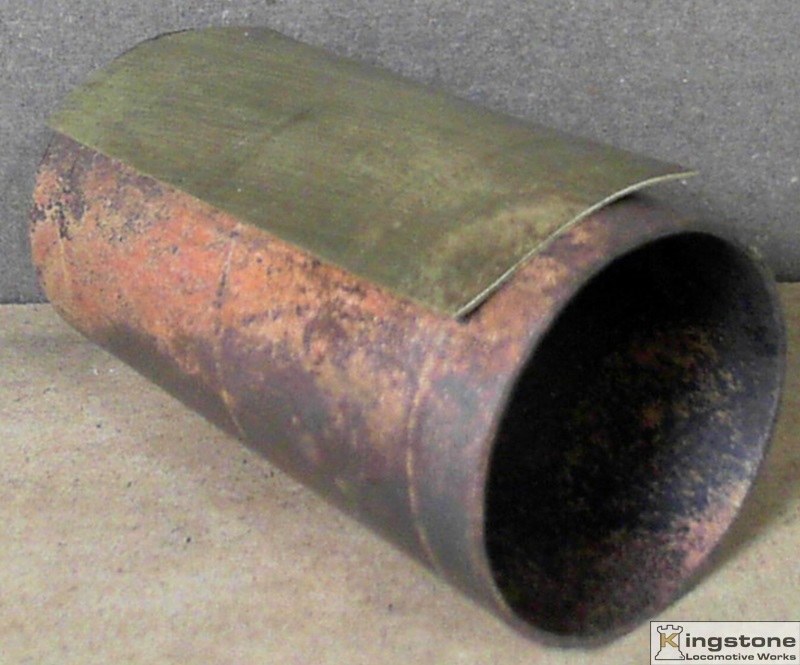 |
Then onto a piece of 1 3/8" dia. tube for a smaller radius.
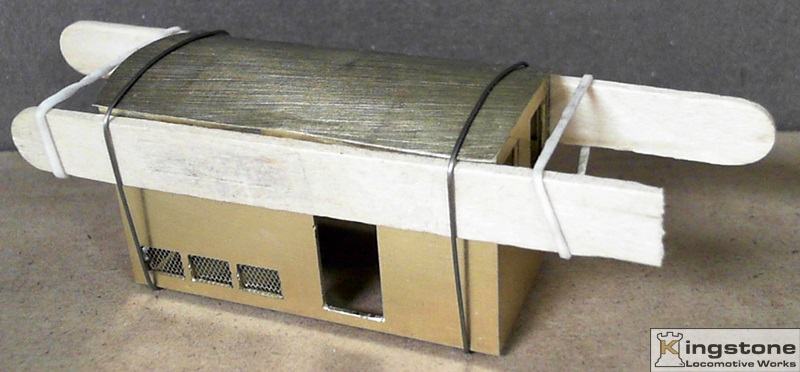 |
The pre cut and formed roof is fastened to the sub-roof with soft wire. The
popsicle sticks keeps the wire from denting the edge of the roof panel.
 |
This is what it looks like all soldered together.
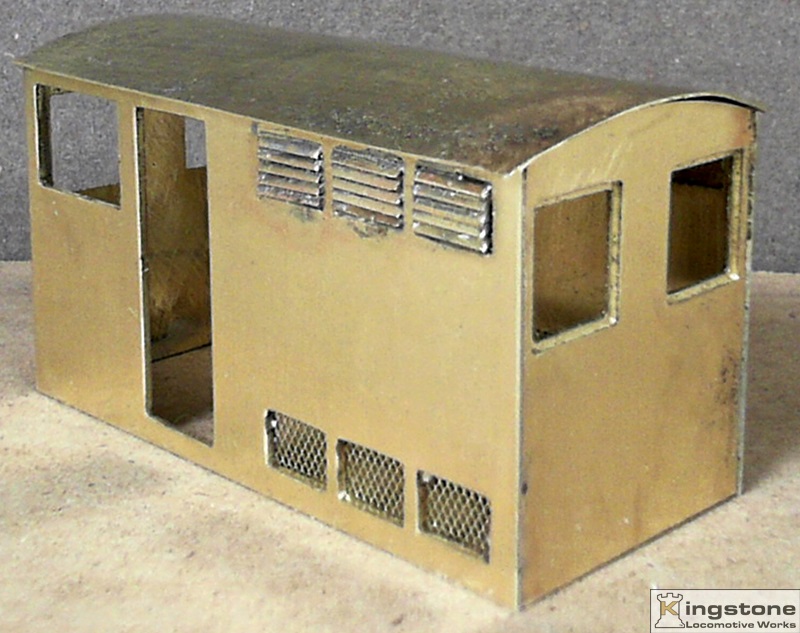 |
A close fit, close to good enough. Three more to do.
 |
Roofs finished up on all four engine. Noticed I haven't finished the louvers on one.
That's the one I need to redo the roof on.
It's not noticeable at this angle but I did
screw it up. The last one I did on the left turned out the best for alignment. I didn't use any wire
or popsicle sticks. I was able to see the position of the roof over the stringers better. Live and learn.
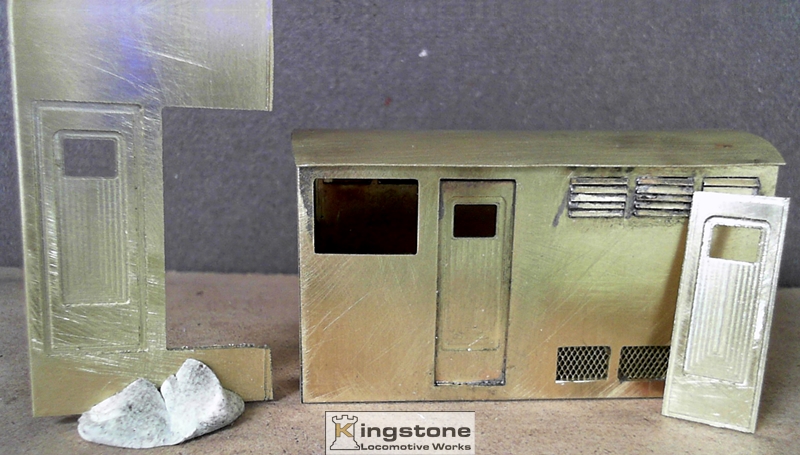 |
I finally designed a door I liked for the boxcab. The mill did the hard part. I just cut
them out with my fret saw and solder them into the opening.
The picture shows one
soldered into the opening. The one on the left is a piece of scrap brass that I was able
to get two doors out of. On the right is a cut out door ready to be soldered in.


