Electric Boxcab

NOTE:Click on picture to enlarge. Click back button on your browser to return to this page. |

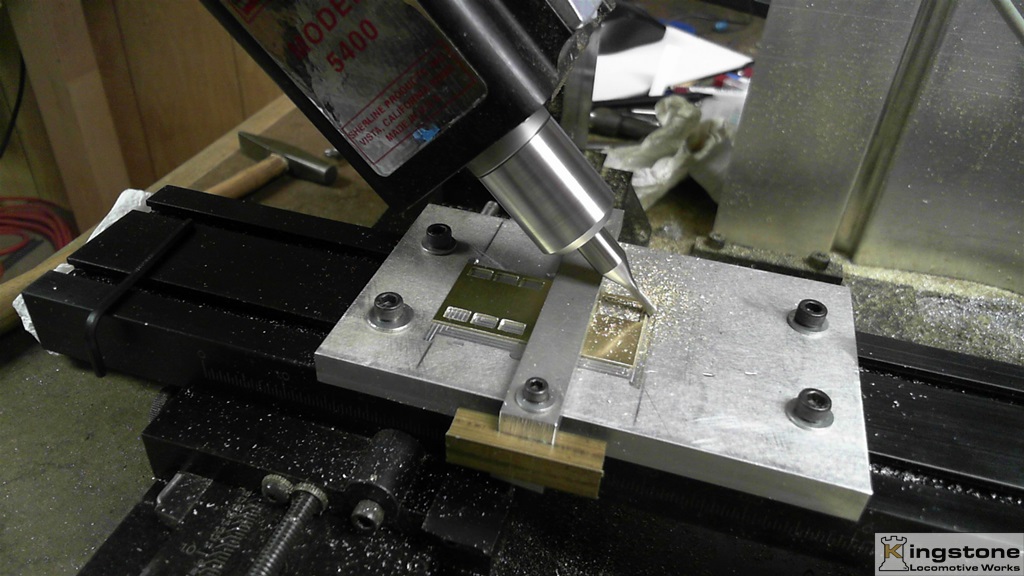 |
One of 8 sides having the angle milled on.
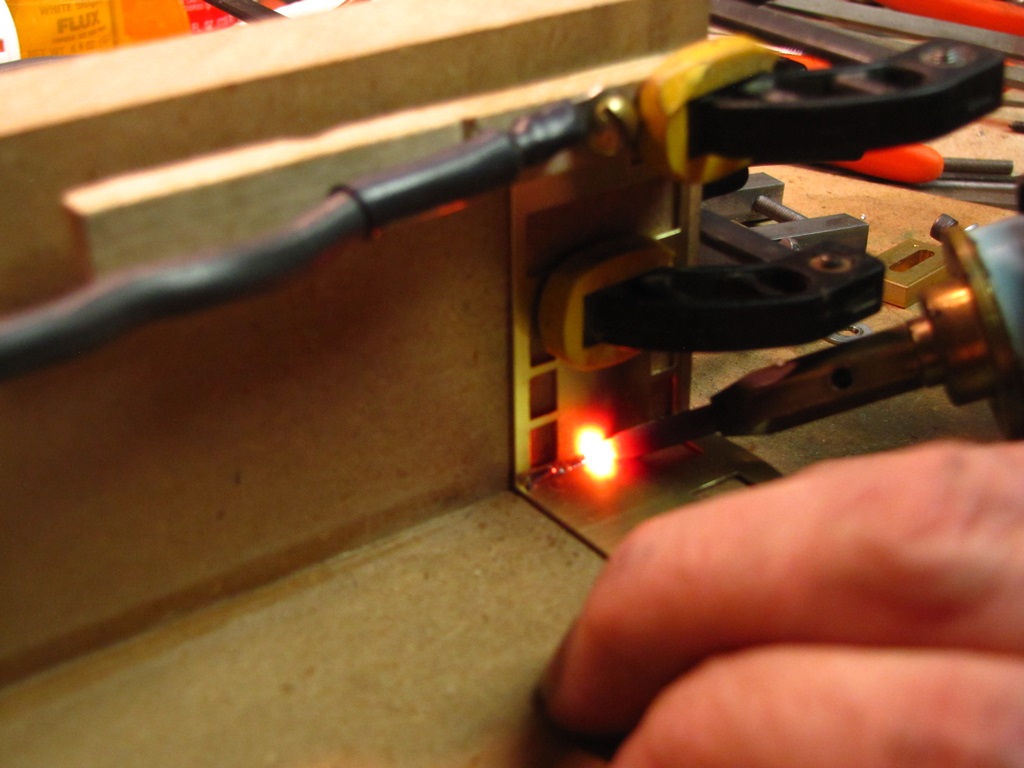 |
After I got all the pieces milled it was, as Norm Abram's says, time for a little assembly.
I made a fixture to hold the pieces
90° to each other and used my resistance soldering
unit with a carbon rod to solder the pieces together.
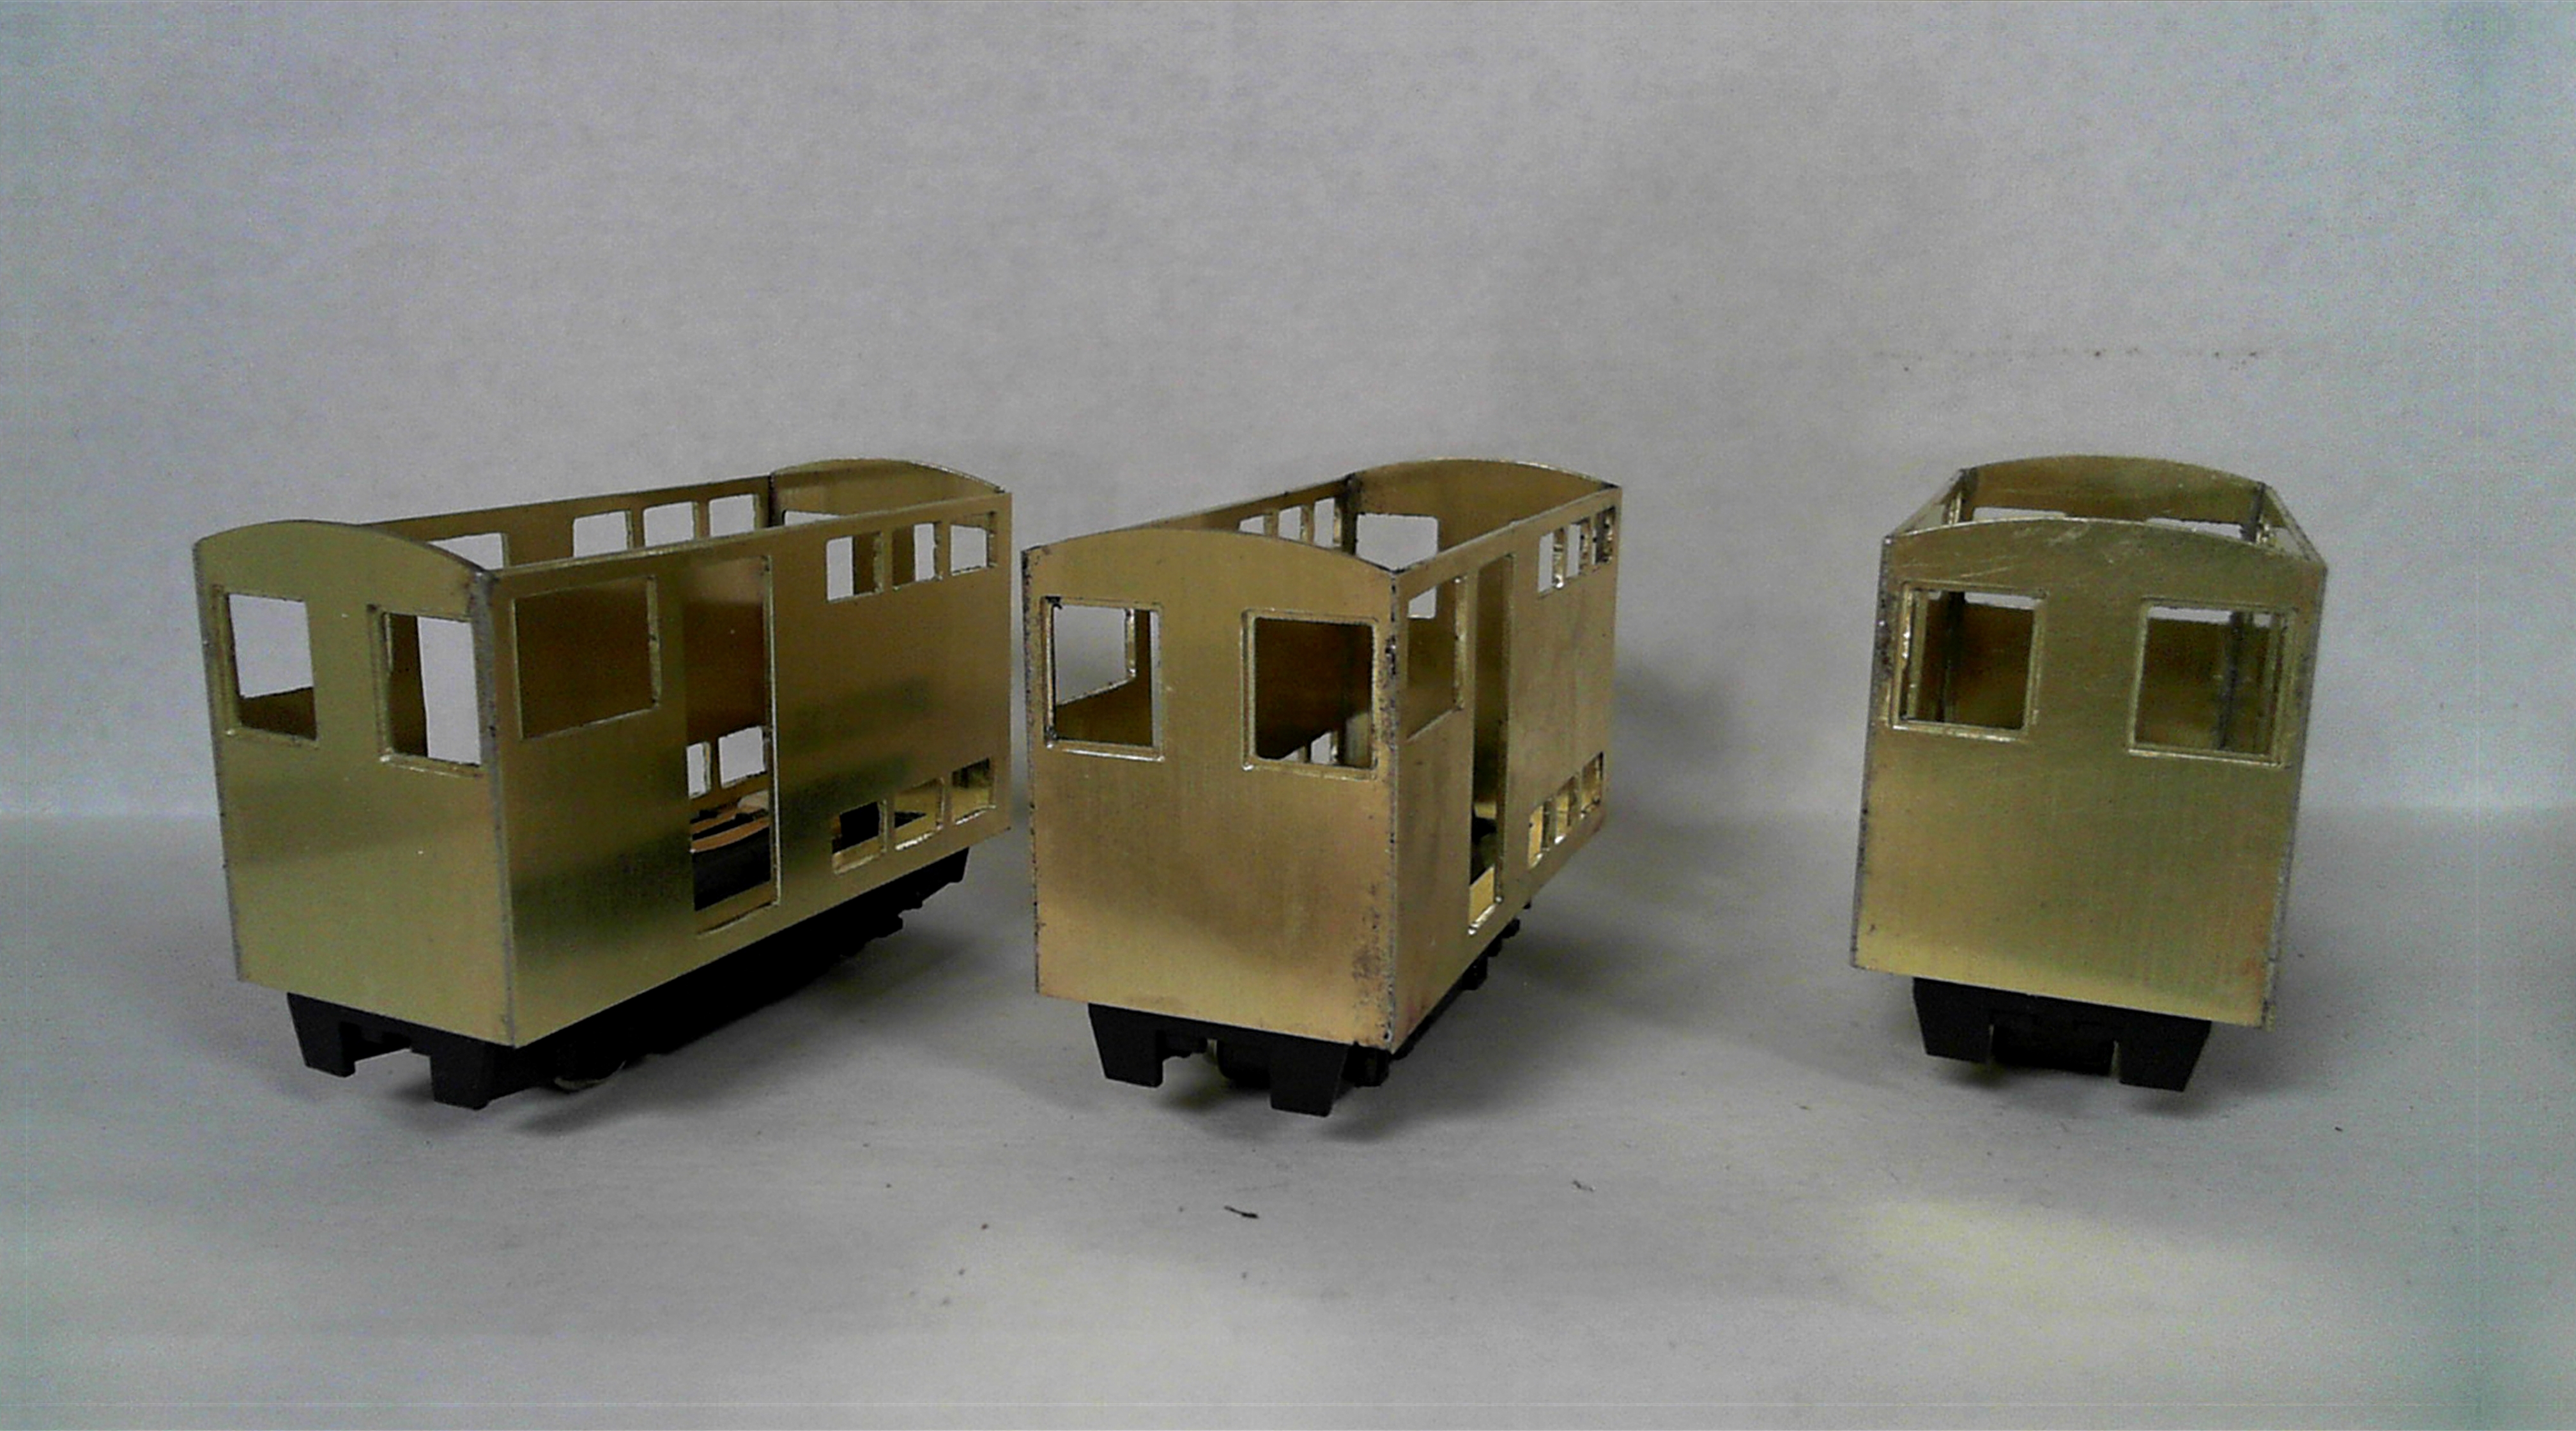 |
And the end results of a couple of hours of work are three roughed in boxcab's.
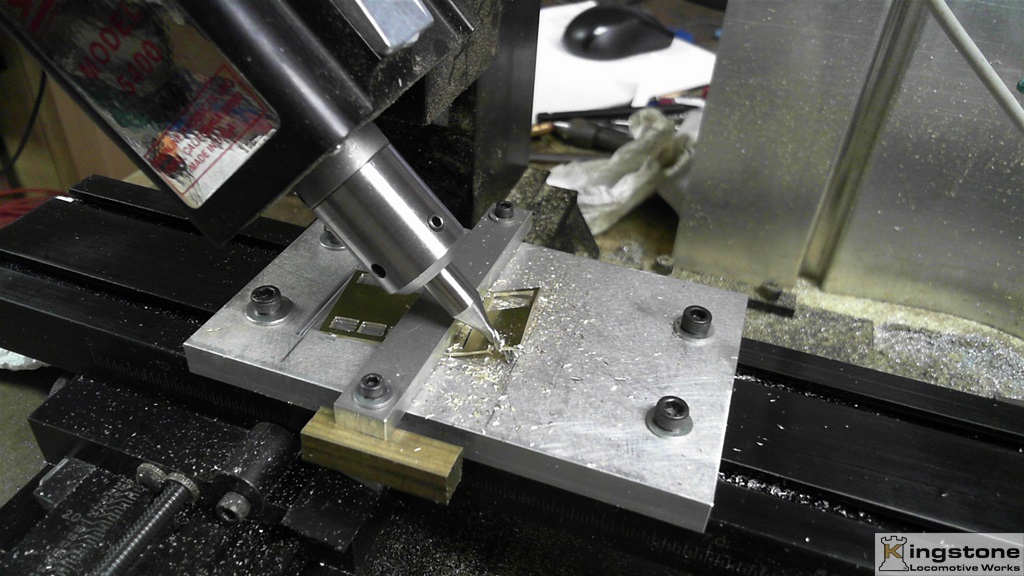 |
Why only three when I said I was making four? Well the
machine got hungry and decided to eat one of the sides.
That's the one nice thing about using CNC. You can make an identical part again
with much less effort.Next step is to start adding the
details, such as doors, louvers
and start thinking about how I'm going to do the roof. Lots of engineering going on here.
 |
Working on the details of the boxcab. I made some louvers for the boxcab.
From a quick tally it looks like I would need 36 sets
of louvers for the three bodies I have now.
Don't know if I'll have the patients to do that many.
Here's what's involved with making a set
of louvers. It takes 5 pieces of stock approximately 1/32" square with a 45° angle milled on one
side. Those
pieces are them cut out of the milled pieces are soldered to a backing. Then a piece is
cut off to the length of the opening and trimmed to fit.
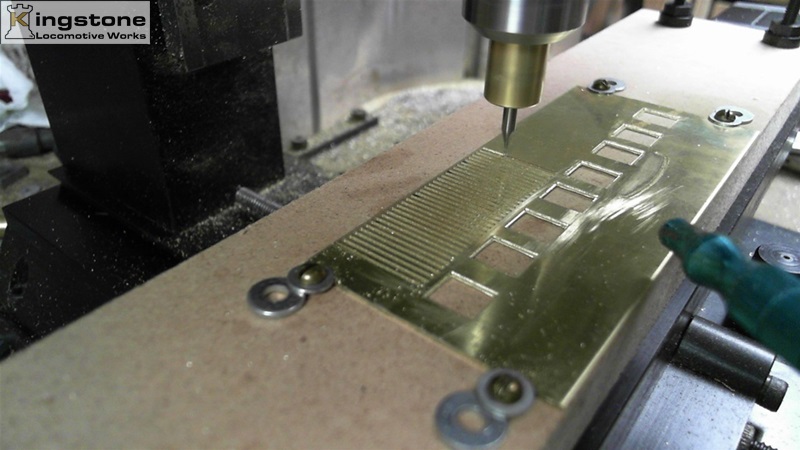
First the slots are milled on a 1/32" spacing.
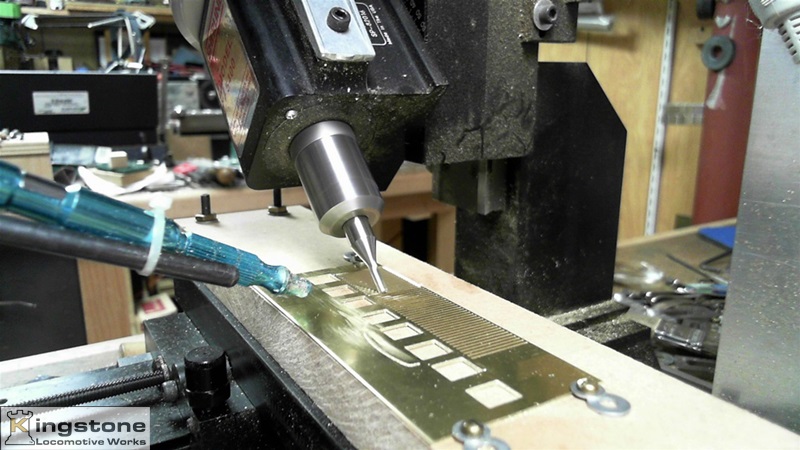 |
Then the 45° angled is milled on.
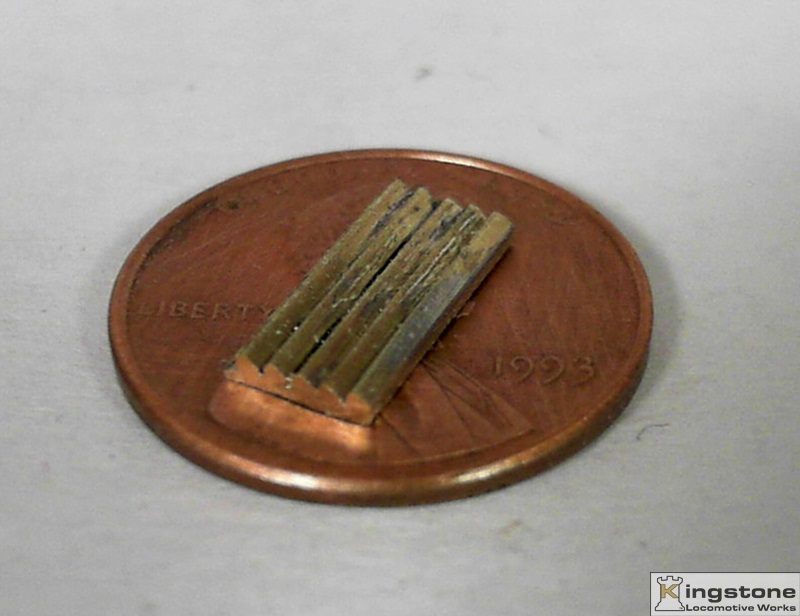 |
The milled angles actually look more triangles. They are cut off the main piece and are soldered
on to a .020" thick piece of brass.
It is then cut to length or close to it to fit into the opening
cut into the cab sides.
Here's a piece sitting on a penny to show just how big they are.
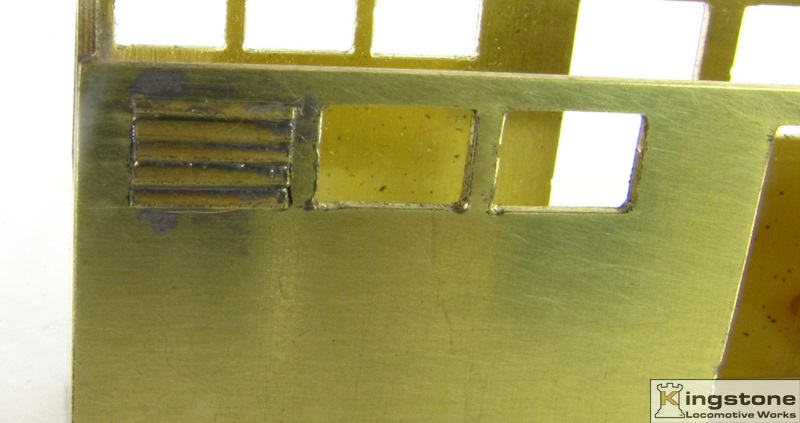 |
The part is then trimmed to fit in the cutout.


