Upgrading a Mantua 0-4-0

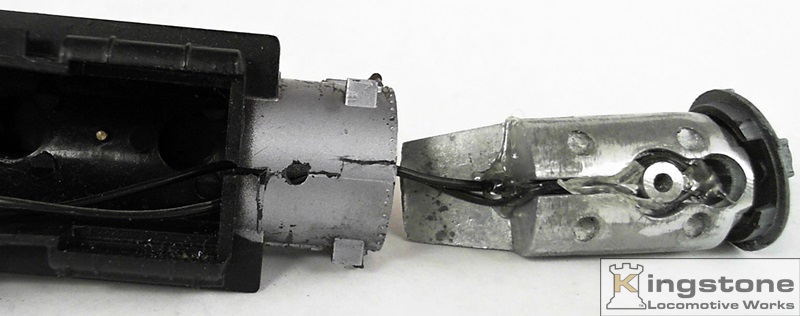
The LED is being prepared for installation where the bulb was. The red arrow points to the area I needed to
remove some material so it would fit into the headlight. I also had to file the inside of the headlight to get a snug
fit for the LED. The leads were cut and a slight bend was put in them so they would fit down the hole where the
light bulb was. Heat shrink tubing was placed over the solder joint.


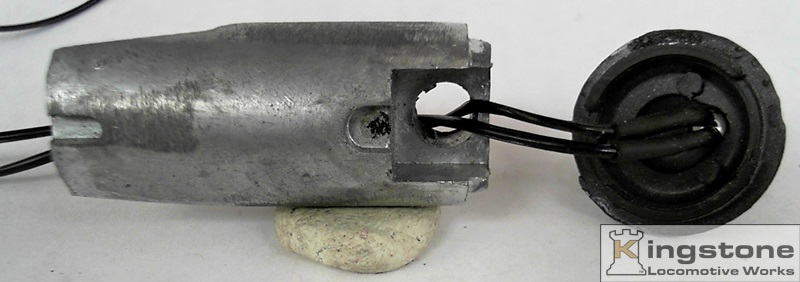
You're looking at the top of the weight. The LED has been firmly pushed into where the plastic lens used to be.
The wires are fed down through the hole where the bulb was.


>

The wires were run through the wire channel and held in place with a couple of dabs of hot glue.
It helps to keep the wires in place for assembly.


I soldered an 8.2K 5% (gray-red-red-gold) resistor on the plus side of the LED. Then another dab of hot glue to
hold the resistor and wires up out of the way. A dual homemade plug was added for easy removal of the shell for
maintenance purpose. Some will question the size of the resistor. Since the Lens manual doesn't state a voltage
output for the bulbs, I assumed at least 12 volts. I used a 14-volt power supply to find the correct resistor to
give a dimmer light.


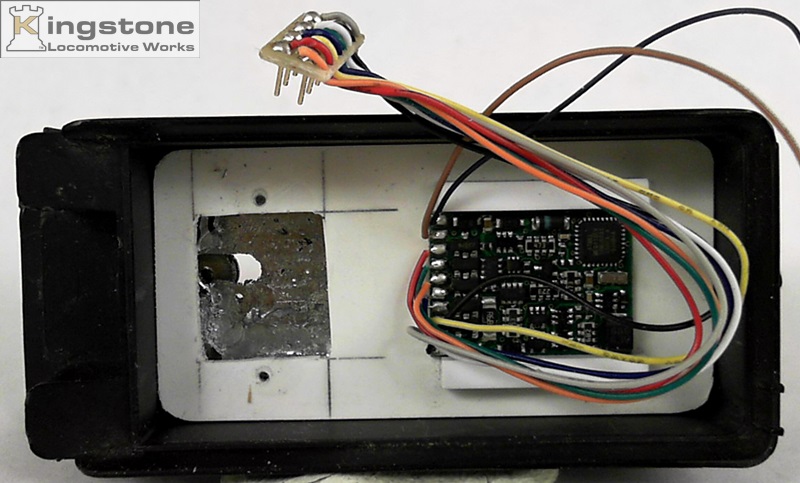
The tender has been reworked to some extent to help with the wiring. This required the use of a milling machine.
A before and after picture of the inside of the tender. A slot was milled to allow the wiring of the truck wires. The
large hole on the left will be used to run the wires to the engine.


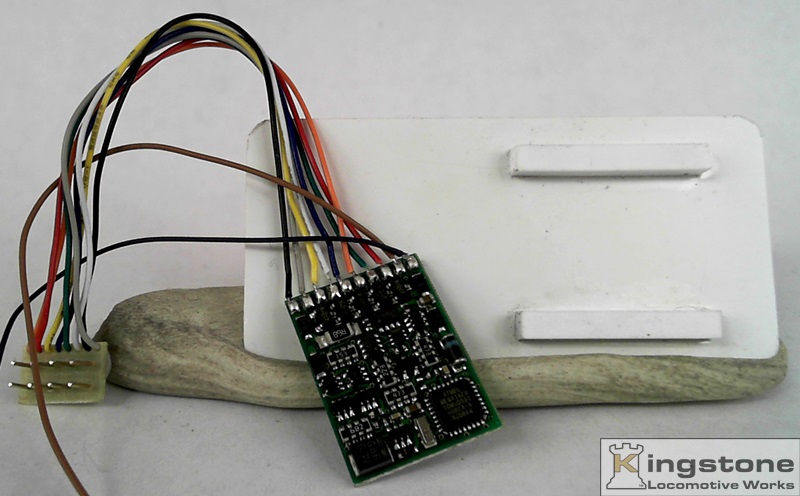
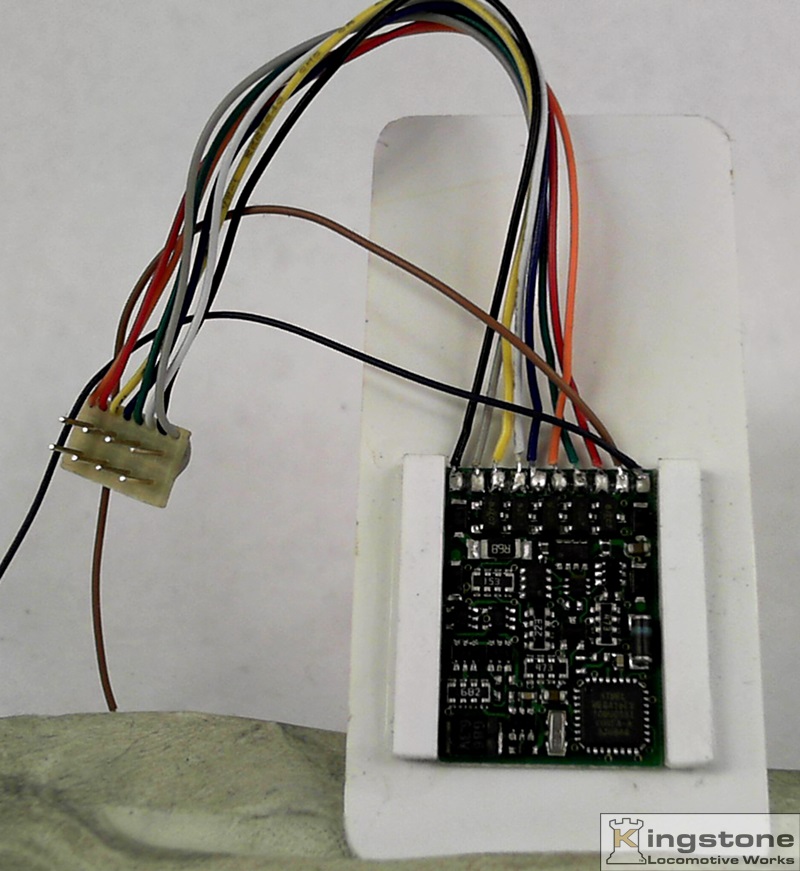
A piece of .060" thick styrene and two 1/4"square pieces were usedto hold the decoder board with a frinction fit.


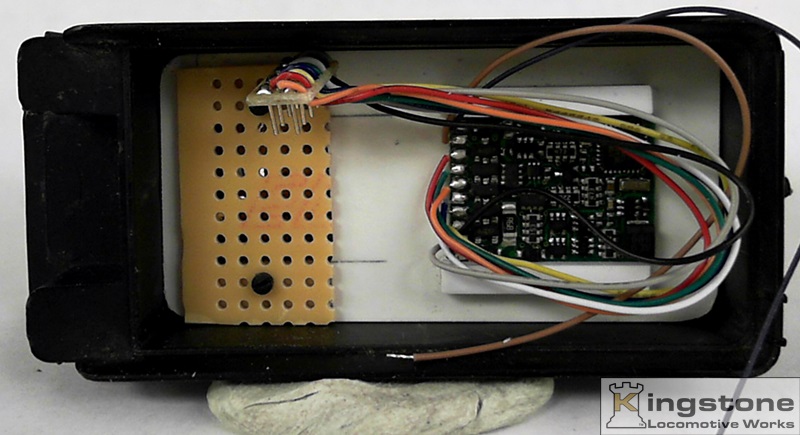
Further in the process of mounting the board in the tender I discovered the tender needed more material to
be removed for a board that was to hold a female plug for the decoders male plug to plug into.


>

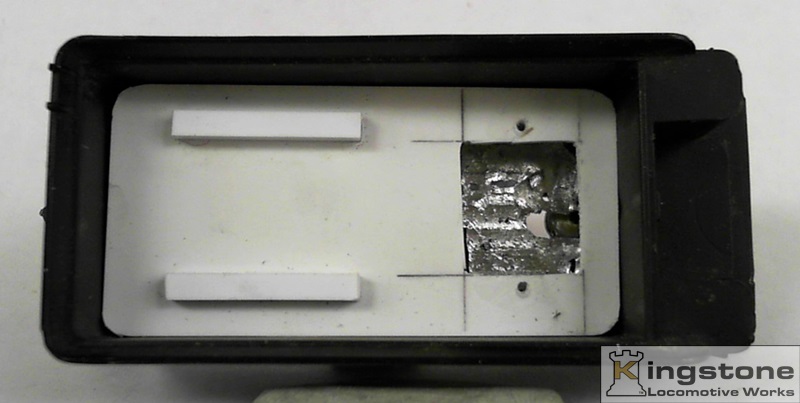
The decoders sub base had a hole cut out for perf board. Two holes were drilled and tapped for an 0-80 screw.


Here the perf board is screwed down to the sub base and installed in the tender to check for fit.


I make up my own mini custom female plugs. I find the commercial plugs to high in priced plus restrictive in there use by the way they are
manufactured. I looked an Miniatronics plugs and had sticker shock, plus I think $10 for shipping is kind of high. So, I made my own. Here's
what I use. They are called machine tooled IC DIP sockets. Jameco part number 114412 for the 28 pin DIP and 94503 for the 40 pin DIP.
Link to Jameco Parts