1/2/2012: The gear tower is almost done.
NOTE:Click on picture to enlarge. Click back button on your browser to return to this page.
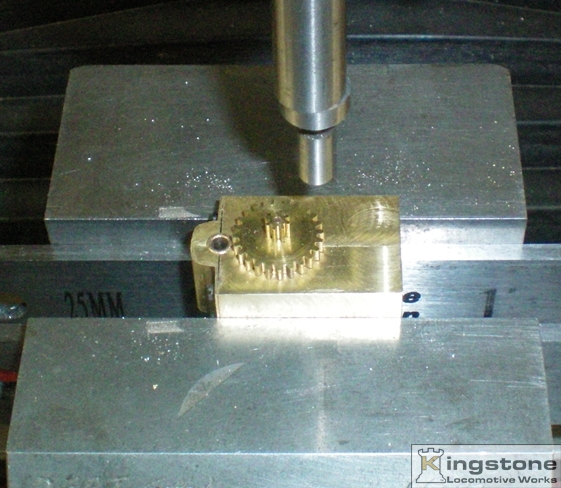 |
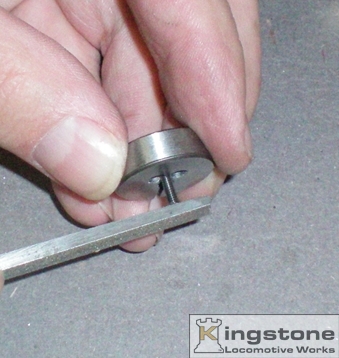
| Here I'm lining up on the center of the tower so all the holes line up. |
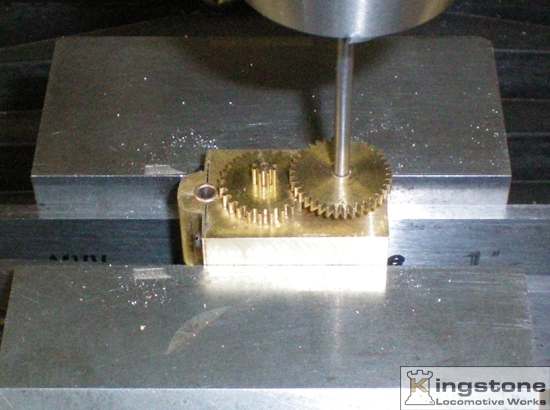 |
| Next I used the shaft the gear is going to go on as a support while I slowly cranked the handle on the mill table to bring the gear into mesh with it's mate. Once I got the proper backlash in the gear I was ready to drill the hole. |
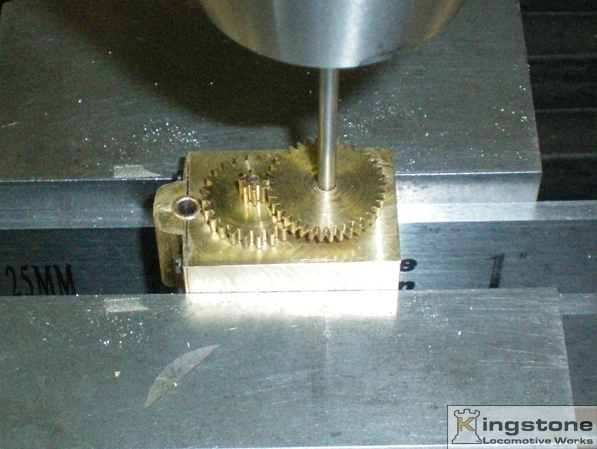 |
| Proper backlash had been established. |
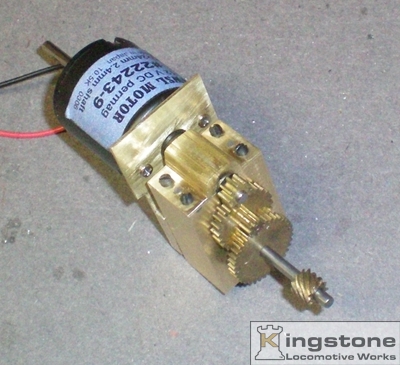
Here is the gear on the shaft in mesh with it mating gear. Both the front and
rear bearings have been installed. On to the motor plate next. | |
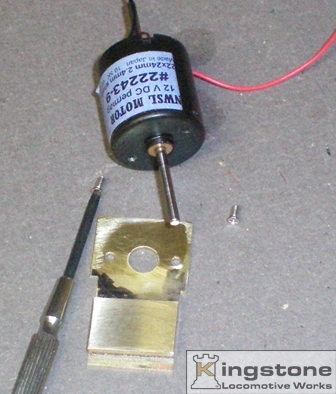 |
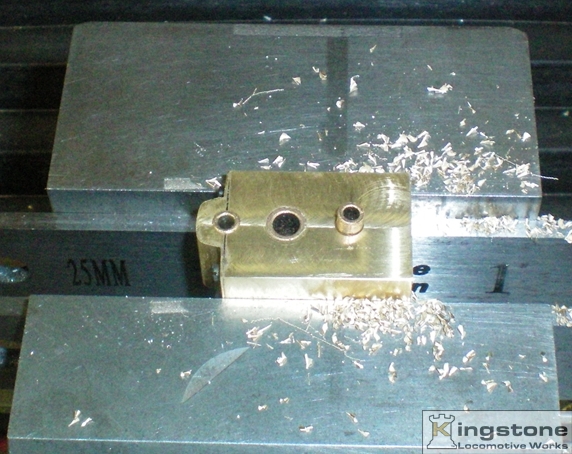
| The motor plate was made from a piece of a piece of .030" brass. Holes were drilled using the dimensions given on the sheet that is provided with the motor. Also a thicker piece, apprx. 3/16" thick was soldered on the bottom to act as a spacer to properly space the motor from the plate for clearance for the motor screws and front bushing of the motor. |
 |
| A side view of the plate. The thicker part had to be milled down to give the proper spacer distance. |
 |
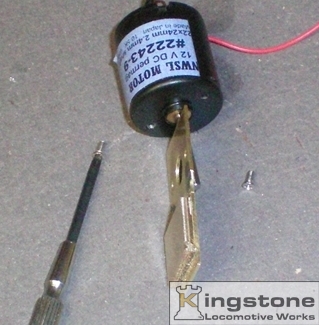
| Getting close to mounting the motor to the gear tower. |
 |
| Hear I'm testing for binding. I knew that with all those individual pieces that there would be some binding somewhere. |
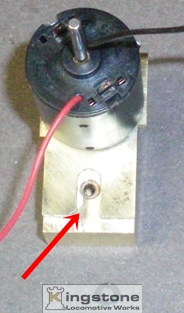 |
| In order to mount the bottom gear I needed to mill a slot in the motor plate. Kind of hard to see with the flash shot. |
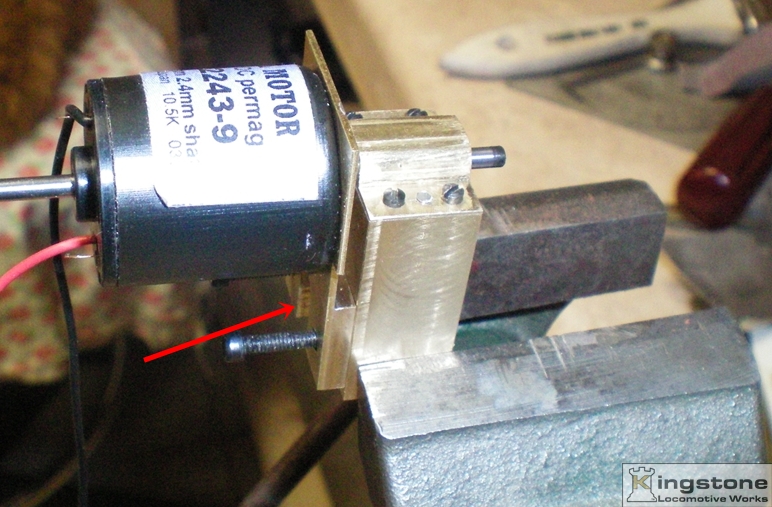 |
| I drilled a couple of clearance holes for 2-56 screws in the motor plate and taped 2-56 tpi holes in the tower. I didn't drill all the way through. I drilled deep enough to give about 1/4" depth so the screws would bottom out to hold them tight. They were left long will running the motor. This gave me the idea of leaving the motor plate floating and letting the shaft of the motor support itself in the bearing. I'll find out later if this was a good idea. |
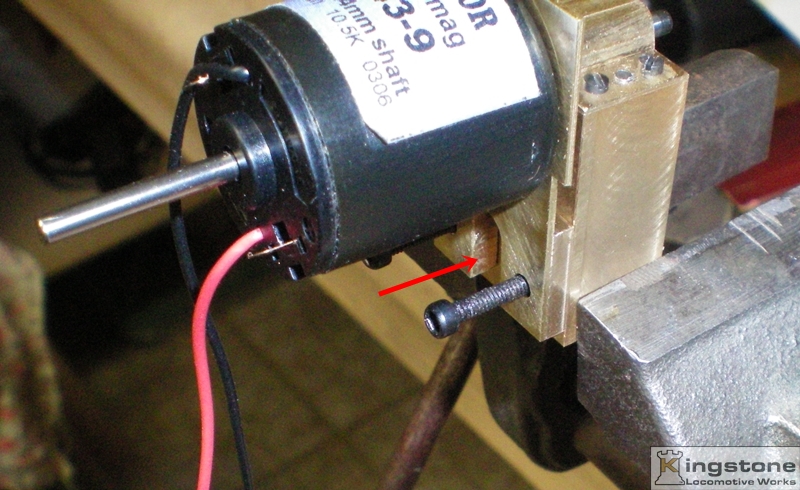 |
| Here's a better view of the slot to clear the gear shaft, plus the long 2-56 screws. |
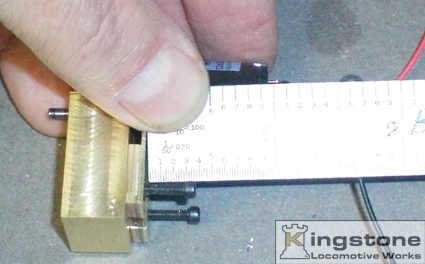 |
| Next I got a measurement of how much to cut off the screws to bring them closer to the motor plate. |
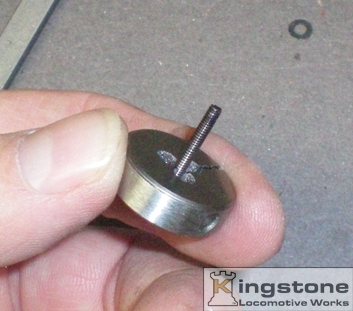 |
| I screwed them into a die to help hold the tiny screw. |
 |
| Next I cut off the access with a pair of side cutters. The screws are soft enough to do this. I guess I could also have used my Dremel and a cut off disk. |
 |
| A quick touch up with a file to get rid of any large burrs. Then I unscrewed the shorter screw. The die helped reform any thread that was damaged making ti easier to thread it in it's hole. |
 |
| Here is the whole gear tower assembled. |
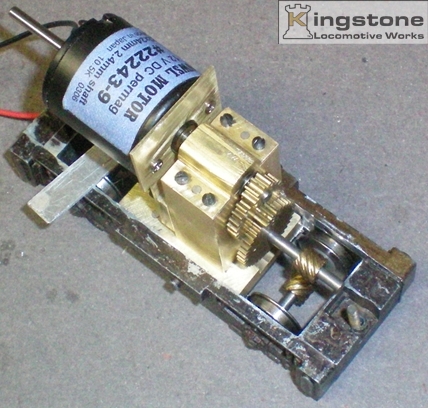 |
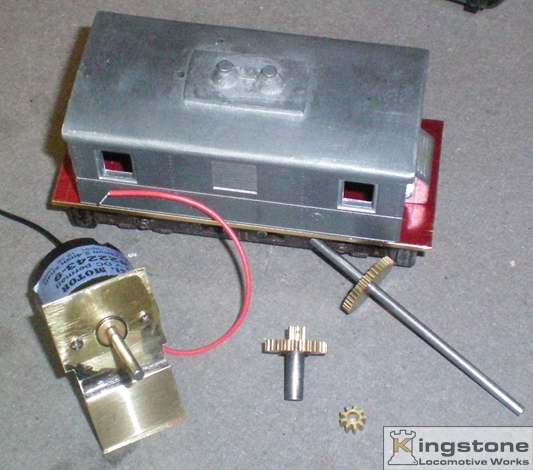
| And what it will look like when mounted in the frame somehow. |
I need to figure out how I'm going to mount the whole gear tower in the frame so that the gears all
mesh somewhat perfectly.
On the next page I'm going to show how to do that.