NOTE:Click on picture to enlarge. Click back button on your browser to return to this page.
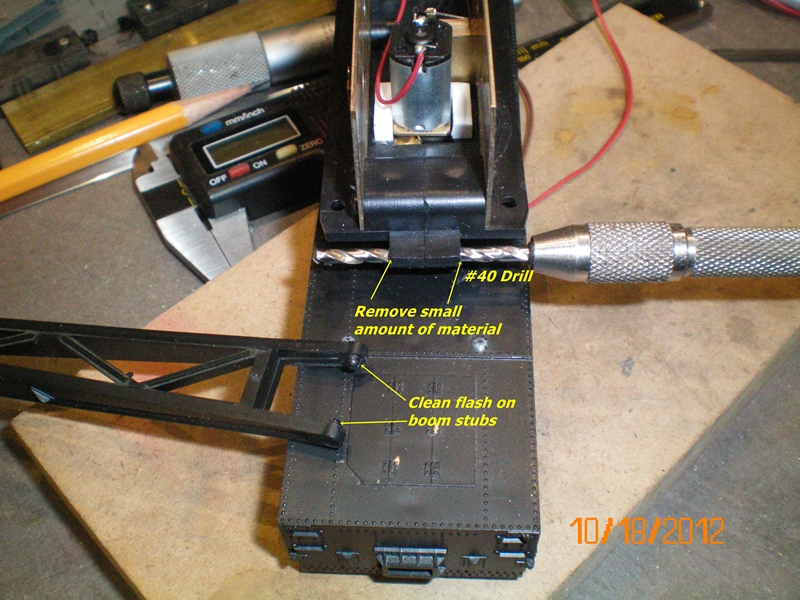 |
In order for the boom to go up and down smoothly I drilled out the hole the holds the boom stubs with a #40 drill and removed any flash on the boom stubs. |
 |
Next I worked on the ring that pivots the whole works. I sanded and filed till it moved with very little effort. Then added some grease left over from a Tamiya gear kit. |
 |
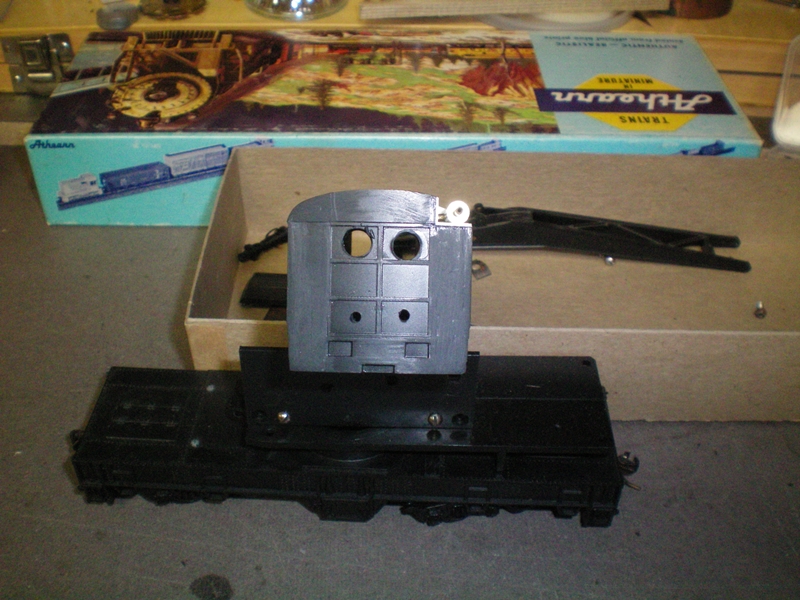
The two cast on ladders get removed. These will be replaced with one or two scratch built brass ladders. |
 |
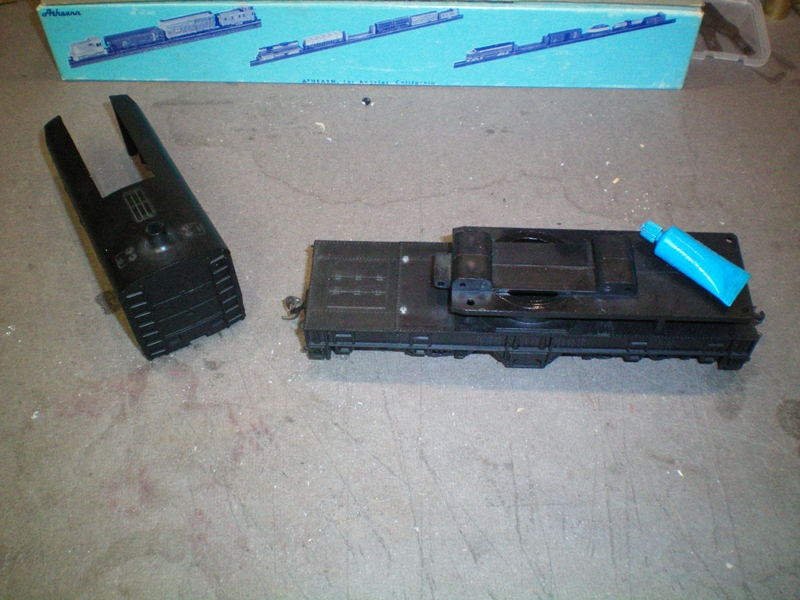
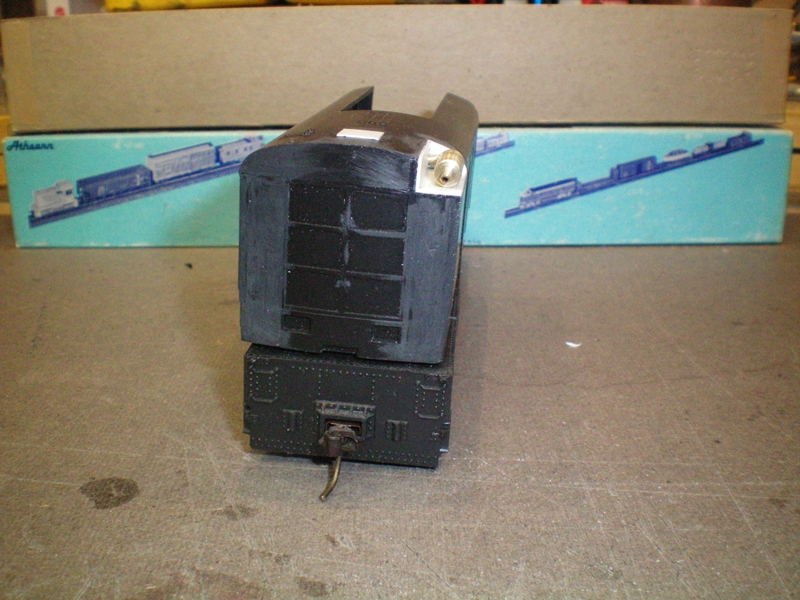
Next the exhaust stack gets removed. |
 |
A piece of Post-it is used to get a square line across the roof line. Also a patch was glued on were the boiler stack was. |
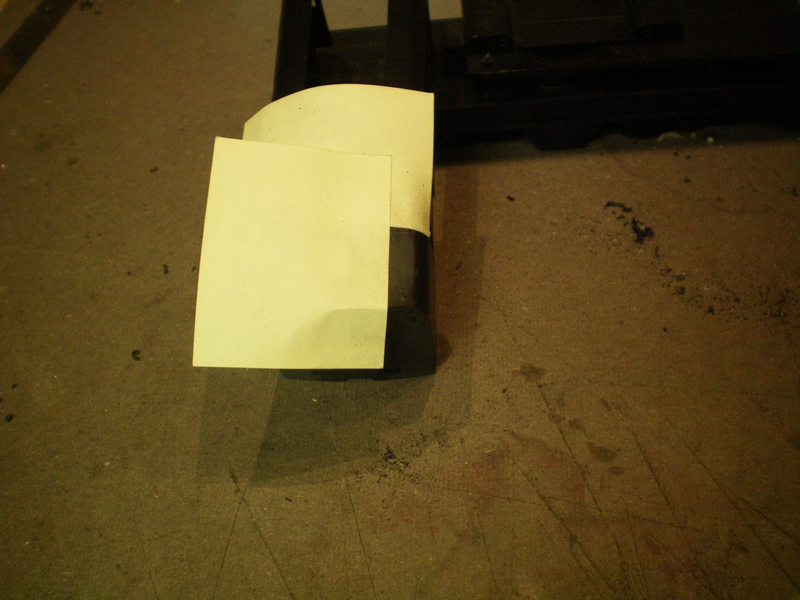 |
Use another post it length wise. This gives a template for cutting a section out of the roof and makes sure it is square with the end and side. |
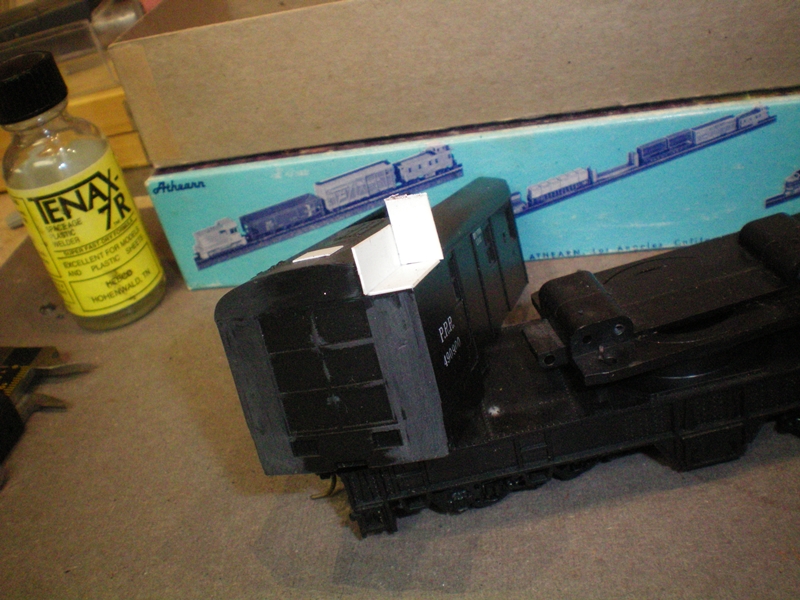 |
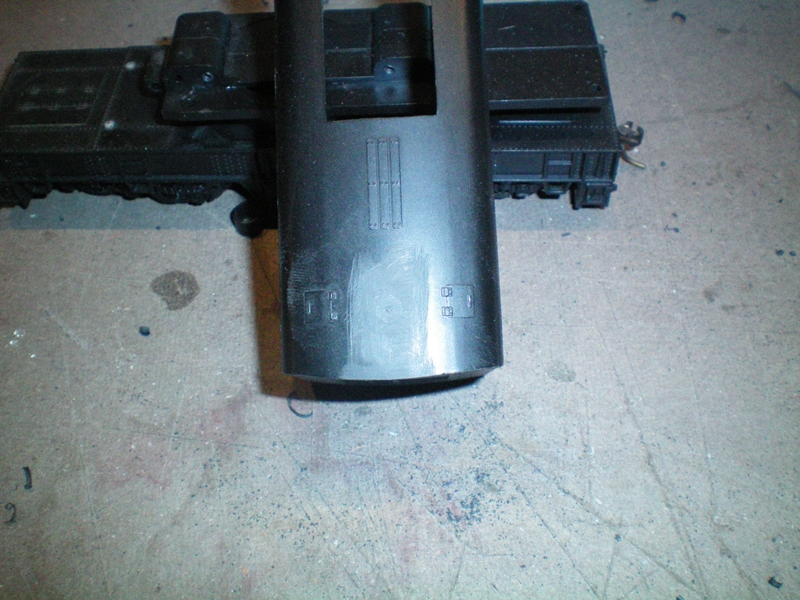
After cutting out the hole it gets filled with .02" thick styrene. |
 |
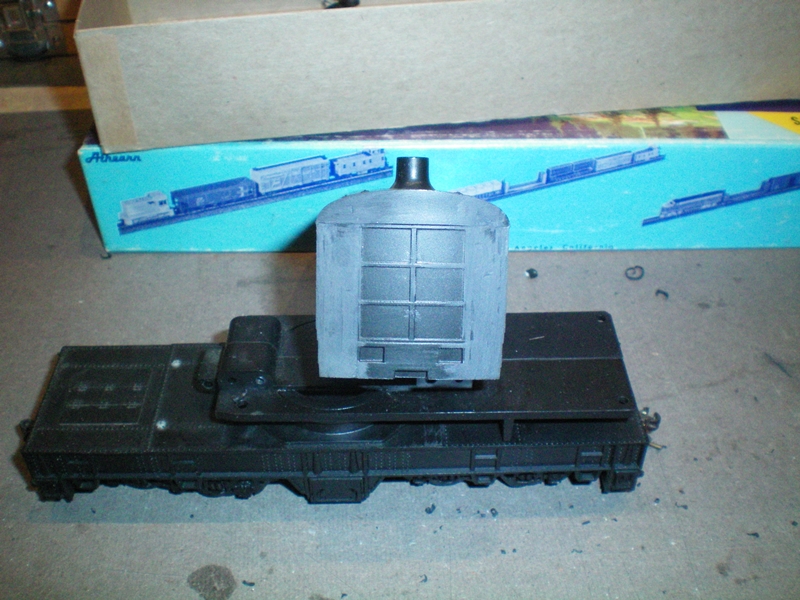
The styrene was cut, filed and sanded to shape and a scratch built muffler was added. |
 |
 |
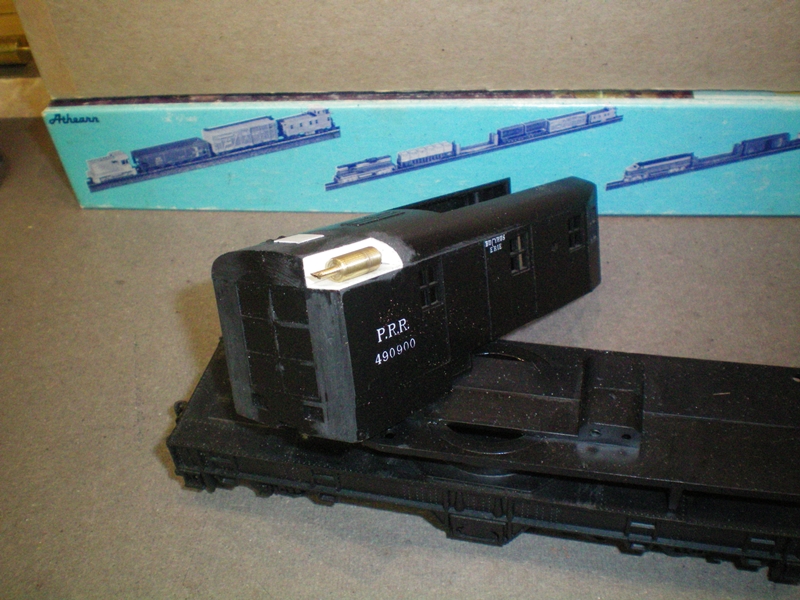
A couple of more pictures of the muffler from different angles. I forgot to mention that I'm making this crane into a diesel powered version. |
 |
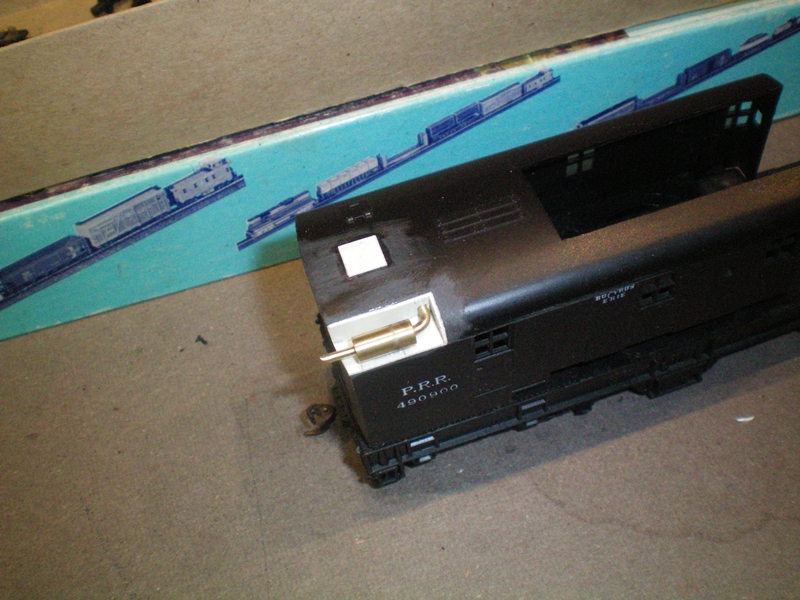
Holes were drilled for the addition of a radiator in the top two and bottom two panels. |
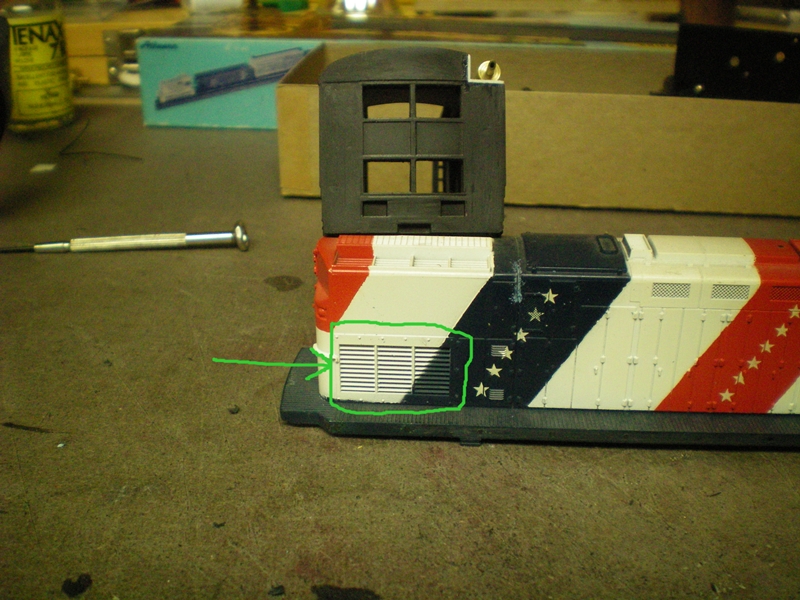 |
The panels have been squared up. I was going to use these louvers from an Alco C420 for the radiator shutters. Unfortunately they were not the same size as the square holes I had made. |